
July 30, 2026
Mastering the Mix: How to Mix Mortar for Tuckpointing Like a Pro
If you’re a homeowner or property manager in Chicago, you know the value of a sturdy, beautiful brick building. Over time, wind, rain, and freeze-thaw cycles take their toll, causing mortar to crack and crumble. When you search for how to mix mortar for tuckpointing, you’re likely looking to tackle this essential repair. While it might seem like a simple task, getting the mortar mix right is the most critical step in ensuring a repair that lasts. A poor mix won’t just look wrong; it can cause more damage to your historic brickwork. Here’s a professional guide on how to mix mortar for tuckpointing correctly.
Why the Right Mortar Mix Matters
First, understand this: mortar is designed to be softer than the brick it holds together. This is a conscious choice; if the mortar is too hard, it will not flex with the building’s natural movements and will instead cause the bricks themselves to crack and spall .
When you are looking for masonry contractors to fix your home, this is the primary reason they emphasize matching the existing mortar’s strength. The most common recommendation for residential work is a Type N mortar mix, which provides an ideal balance of strength and flexibility for most climates . However, historic homes may require a softer, lime-based mortar . When you search for how to mix mortar for tuckpointing, remember that matching the old mortar’s characteristics is just as important as the physical mixing process.
The Professional Mix: The 1-1-6 Rule
The most reliable formula for a standard Type N mortar is the 1-1-6 mix. This ratio by volume breaks down as follows :
-
1 part Portland cement: This is the binder that gives the mortar its strength.
-
1 part hydrated lime: This is the magic ingredient that provides workability and flexibility, allowing the mortar to self-heal small cracks and preventing damage to the brick.
-
6 parts sand: This acts as the aggregate. The type and color of sand are crucial for achieving a color match.
Step-by-Step Guide on How to Mix Mortar for Tuckpointing
Here is the professional approach to how to mix mortar for tuckpointing to ensure a perfect repair.
Step 1: The Color Match Challenge
Before you even start mixing, you must address the color. The sand makes up 75% of the mortar, so it has the biggest impact on the final color . To achieve an “invisible” repair, you need to analyze the old mortar. A common technique is to dissolve a piece of the old mortar in muriatic acid to leave behind the sand, which you can then try to match .
-
A Pro Secret: For buildings constructed between 1890 and 1930, a mix of half gray and half white Portland cement often perfectly replicates the original color .
-
Pigments: You can add masonry pigments (like buff, brown, or black) to fine-tune the color. Always mix and test small batches on a piece of cardboard to see how the color dries before making a large batch .
Step 2: Achieving the “Peanut Butter” Consistency
This is the most crucial physical aspect of how to mix mortar for tuckpointing.
-
Measure Precisely: Use a container to measure your materials by volume, not weight . Using a shovel is a recipe for an inconsistent batch.
-
Mix Dry: Combine the cement, lime, and sand in a wheelbarrow or mortar box until the color is uniform.
-
Add Water Slowly: Make a well in the center and add clean water. Mix with a hoe or a drill with a paddle bit.
-
Let It Slake: Once mixed, let the mortar rest for 5 to 10 minutes. This process, called “slaking,” allows the lime to fully hydrate and improves workability .
-
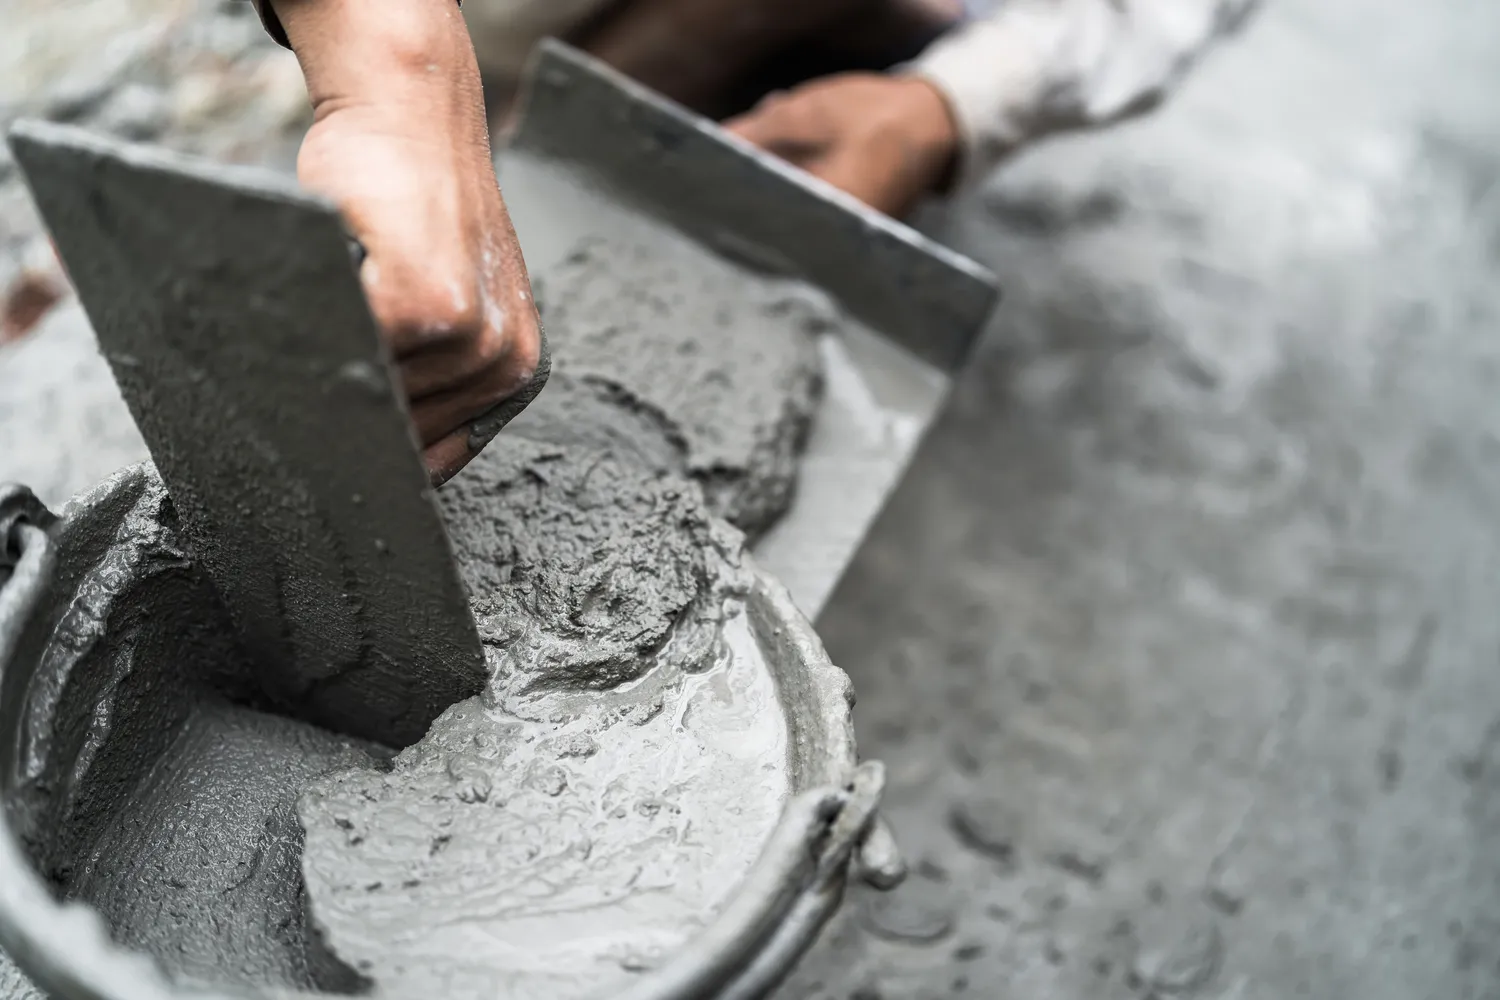
Final Mix: Mix again. The final consistency should be stiff and sticky, like creamy peanut butter . It should hold its shape when squeezed in your hand without crumbling or dripping water. A good test is to put some on a trowel and hold it at a 45-degree angle; if it sticks, you’re ready to go .
Step 3: Application
Now that you know the exact method, you must work quickly. You have about 1 to 2 hours to use the mortar before it begins to set .
-
Dampen Joints: Always wet the cleaned-out joints with water before packing in the new mortar. This prevents the old, dry brick from sucking moisture out of your new mix, which can cause it to crack .
-
Pack It In: Use a tuckpointer trowel or a grout bag to firmly pack the mortar into the prepared joints, starting with the vertical ones first .
Leave it to the Experts
While knowing how to mix mortar for tuckpointing is the first step, the skill and patience required for the entire process is immense. Color matching, proper joint preparation, and tooling the new mortar to match the original all take years of experience to perfect. A poorly executed job can ruin the look of your home and even cause structural damage.
If you’re seeking masonry contractors to handle this delicate work, look no further. At Expert Masonry & Tuckpointing, we don’t just know how to mix mortar for tuckpointing; we have a deep understanding of Chicago’s unique architecture. We take the time to analyze your brick and mortar to create a custom blend that will protect your investment for decades. Don’t trust your home to just anyone. When you’re searching for a pro near me, trust the experts.